ℹ️ Affiliate Disclosure
This page contains affiliate links. As an Amazon Associate, we earn from qualifying purchases at no extra cost to you. We only recommend products we genuinely believe will help you. Prices and availability may change.
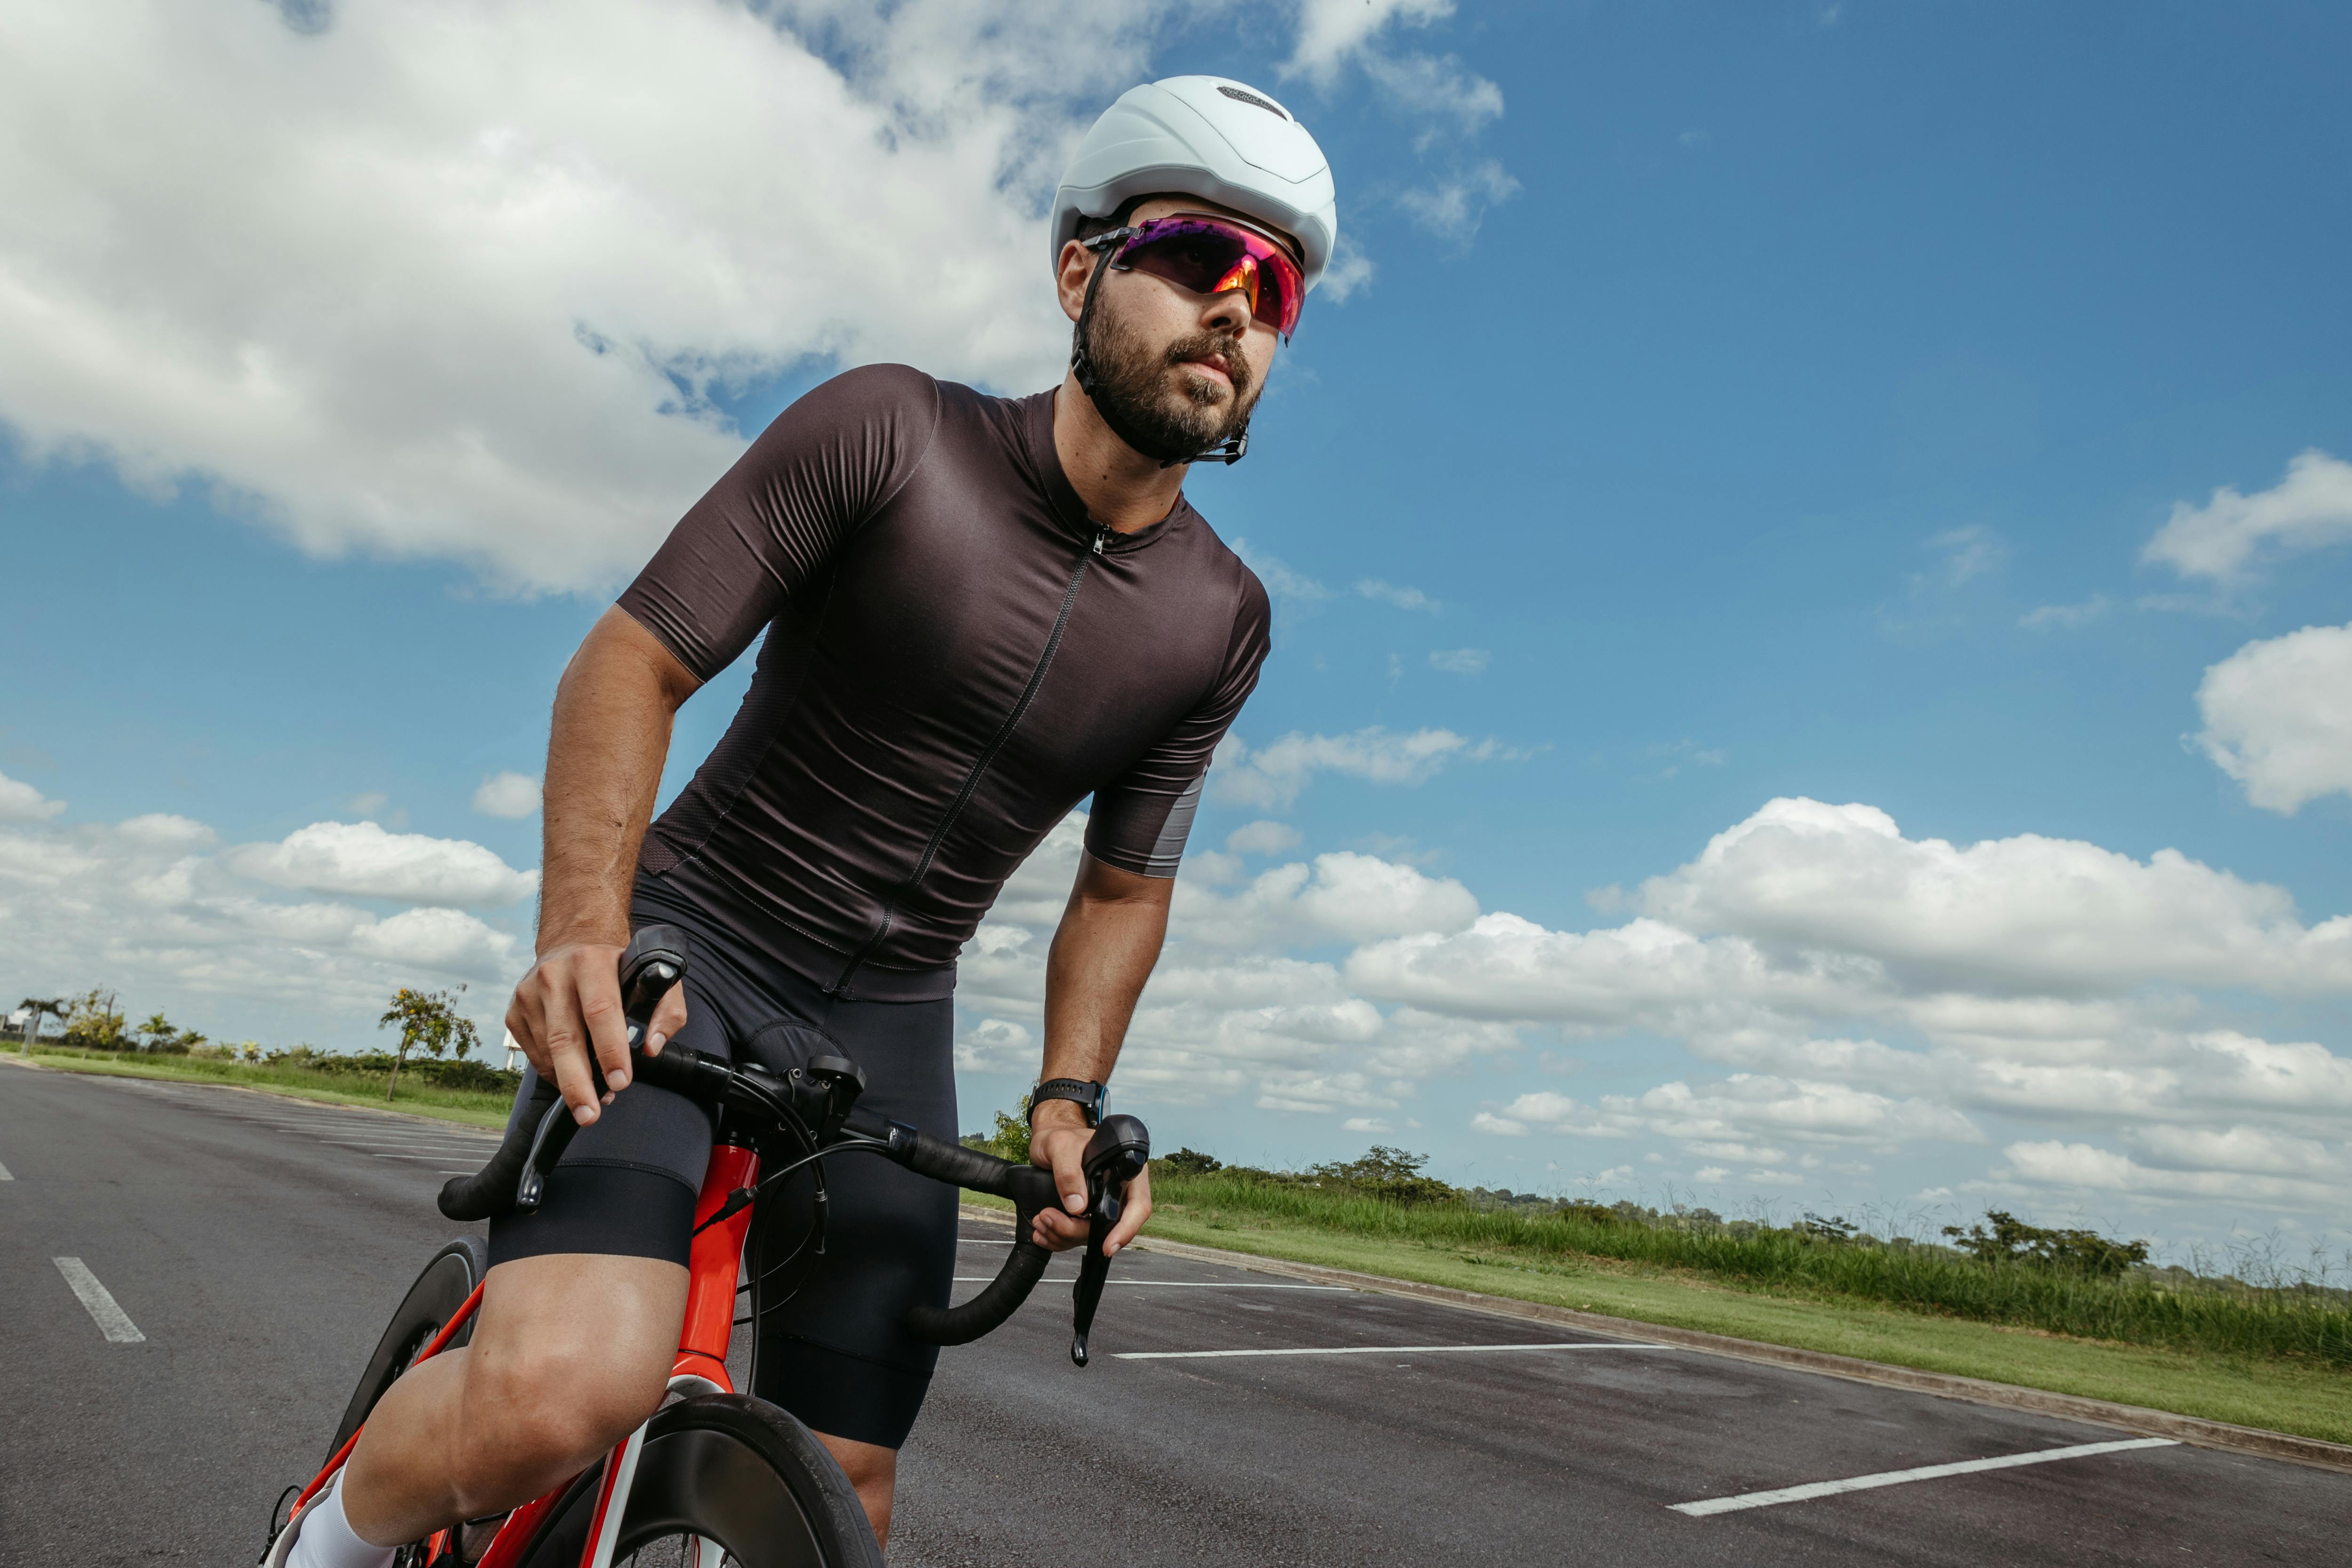
After five years of grinding through commutes and century rides, I’ve learned that a “water-resistant” jacket usually isn’t, and a cheap phone mount is a disaster waiting to happen.
I still remember Flying down a descent at 35 mph when my budget mount gave up. I watched my thousand-dollar smartphone shatter against the asphalt. Since that day, I’ve been on an obsessive quest for mounts that actually work. Here are the 11 that survived my 10,000-mile testing.
1. The Professional Choice: Peak Design Out Front Mount
If you primarily ride one bike and want the cleanest, most aerodynamic setup, this is it. It places the phone out in front of your bars and in your line of sight. The SlimLink technology is addictive—you just get the phone close, it snaps in, and it’s locked.

2. The Versatile Workhorse: Peak Design Universal Bar Mount
This is the mount I keep for my “everything” bike. Because it uses a silicone band rather than a hard clamp, I can swap it from my road bike to a grocery cart in ten seconds. It is incredibly stable and features the same magnetic-mechanical lock as high-end road mounts.

3. The Industry Standard: Quad Lock Out Front Mount
Quad Lock has been the standard for years for a reason. It uses a 45-degree twist-lock that is rock solid. While it takes more precision than Peak Design to line up, once it’s in, it is battle-proven. Essential for anyone already in the Quad Lock ecosystem.

4. The Rugged Specialist: Rokform Pro Series Quad Tab
Built like a tank. It’s made of CNC-machined aluminum and uses both a twist-lock and a powerful magnet. It feels over-engineered in the best way. It’s a bit bulkier, but the peace of mind on technical descents is worth every extra gram.

5. The Stem-Centered Stealth: Sincetop C Gen 2
For weight-weenies who hate cluttered handlebars, the Sincetop attaches directly to your headset stem cap. This keeps the phone perfectly centered and low-profile. The mechanical lock is surprisingly snappy for a non-magnetic system.

6. The Best “Universal” Grip: Lisen Bike Phone Holder
If you refuse to use a special case, the Lisen is the best of the clamp-style mounts. It uses a robust attachment point to the bar that doesn’t flop around. It’s bulky, but it survived a 200-mile gravel trip without dropping a device once.

7. The Budget King: Deerfun Detachable Silicone Mount
At the price of two lattes, this “detachable” silicone web design is brilliant for commuters. You can peel the phone and web off the bar mount to go into a store without unstrapping the whole hardware base.

8. The “One-Hand” Mechanical: Nite Ize Squeeze
Most mechanical mounts require two hands to open the arms, but the Squeeze uses a clever lever system you can pinch with one hand. It’s very intuitive and great for riders who are constantly stopping to check maps or snap photos.

9. The Minimalist: VUP Silicone Universal Mount
This is about as low-profile as it gets—essentially a high-quality silicone strap. Because it’s so light, there’s zero vibration or rattling noise. Perfect for a secondary backup mount or for a casual weekend cruiser.

10. The Weather Shield: RockBros Front Frame Bag
When the clouds roll in, bar mounts leave your phone exposed. That’s when I switch to the RockBros bag. It sits on your top tube with a waterproof TPU window and has storage for keys, tubes, and a CO2 cartridge.

11. The Classic Value: Lamicall Bike Phone Holder Mount
The “Honda Civic” of mounts—not flashy, but it does exactly what it says on the tin. It uses a four-corner claw that locks with a switch on the back. Extremely easy to install and fits a wide variety of phones securely.

Frequently Asked Questions
What safety gear is essential for cycling?
A properly fitted helmet is non-negotiable — it must sit level, two fingers above your eyebrows, with the chin strap snug. Front and rear lights are legally required in the UK after dark and essential for all-day visibility in poor weather. High-visibility or reflective clothing significantly increases driver awareness. Gloves protect hands in a fall and improve grip comfort. A small saddlebag with a multi-tool, tyre levers, and a spare inner tube prevents being stranded mid-ride.
How do I choose the right bike for commuting?
For commuting, prioritise reliability over speed: a flat-bar hybrid or gravel bike handles varied road conditions and is easier to control in traffic than a road bike. Puncture-resistant tyres (like Schwalbe Marathon) dramatically reduce maintenance stops. Mudguards are essential in UK conditions. A rack and panniers or a quality commuter backpack carries daily loads without back strain. Consider an electric assist (e-bike) for commutes over 10 miles or with significant hills — the sweat-free arrival justifies the premium.
Are these cycling products available in the UK?
All cycling accessories reviewed here are available on Amazon UK. UK cycling regulations differ from US in some areas — notably, helmets are not legally mandatory in the UK (though strongly recommended), and lights must meet specific brightness standards for road use. Bike-specific products like tyres, chains, and components are universally compatible by standard sizing (tyre sizes, cassette standards). Purchase lights from UK Amazon to ensure they meet UK Road Vehicles Lighting Regulations.
How often should I service my bicycle?
A basic home check should happen before every ride: squeeze both brake levers (should stop 5cm from the bars), spin both wheels (true and without rubbing), check tyre pressure, and verify the headset and saddle are secure. Clean and lubricate the chain every 100–150 miles or when it sounds dry. Cables stretch and should be adjusted every 3–6 months. A full professional service annually covers bearing inspection, brake and gear calibration, and cable replacement — budget £50–£100 at a local bike shop.
What’s the difference between clipless pedals and flat pedals for beginners?
Flat (platform) pedals allow any shoe and easy foot release — ideal for beginners and technical terrain. Clipless pedals (confusingly named — your shoe clicks into them) improve pedalling efficiency by allowing power through the full stroke and are preferred for road and endurance riding. The learning curve for clipless involves some falls while learning to unclip at stops — budget 2–4 weeks of practice in quiet areas. For commuting and general cycling, quality flat pedals are entirely adequate.
Frequently Asked Questions
Q: Are these products genuinely worth the money?
Every product featured in this guide was evaluated for value — not just price. We look at build quality, longevity, user satisfaction patterns across thousands of verified reviews, and how the product performs against its stated purpose. Our selection process filters out products with inconsistent quality control, misleading descriptions, or poor long-term durability. Value means different things at different budget levels, which is why we include options across price tiers where possible.
Q: How were these products selected and tested?
Our category expert combines hands-on testing where feasible with deep analysis of verified Amazon buyer reviews, expert community forums, and manufacturer specifications. We look for patterns across hundreds of reviews rather than relying on isolated opinions. Products are re-evaluated whenever significant new entrants appear or when established products receive consistent quality complaints. Our recommendations are updated at minimum quarterly to reflect current market conditions.
Q: Are these products available in the UK with standard delivery?
Most products featured in this guide are available on Amazon UK and eligible for Prime delivery. Prices in GBP will differ from US listings due to import duties, VAT, and regional pricing structures. Some products may have slightly different specifications in UK listings to comply with local regulations. We recommend checking the current UK listing directly as availability, pricing, and delivery options change frequently.
Q: What should I look for when comparing products in this category?
Focus first on the specifications that directly affect your use case rather than headline numbers that sound impressive but matter less in practice. Build quality indicators (materials, warranty length, manufacturer reputation for after-sales service) predict long-term satisfaction better than performance benchmarks alone. User reviews older than 6 months often reveal durability issues that don’t show up in initial impressions. Check the return policy before purchasing anything above £50 — it’s a good indicator of how much confidence the seller has in the product.
Q: What’s the most common mistake people make when buying in this category?
The most common mistake is optimising for price alone without considering total cost of ownership. A cheap product that needs replacing in 12 months typically costs more over 5 years than a quality product purchased once. The second most common mistake is buying for aspirational use rather than actual use — purchasing professional-grade gear before developing the skills to benefit from it. Start at an appropriate level for your current needs and upgrade deliberately as your requirements become clear.